AWS IAM Identity Center Setup
meshStack supports two approaches for managing groups in AWS IAM Identity Center:
| Approach | Authentication | Recommended? |
|---|---|---|
| AWS Identity Store API | IAM role credentials (WIF-compatible) | ✅ Recommended for new platforms |
| AWS SSO (SCIM) | Long-lived SCIM bearer token | Legacy, still supported |
AWS Identity Store API (Recommended)
The Identity Store API integration lets meshStack manage groups in AWS IAM Identity Center using your existing IAM role credentials. Unlike SCIM, it requires no long-lived bearer token and is fully compatible with Workload Identity Federation (WIF).
meshStack Configuration
In the AWS platform configuration in meshStack, set the IAM type to AWS Identity Store API and fill in the following fields:
| Field | Description | Example |
|---|---|---|
| Identity Store ID | The ID of your AWS IAM Identity Center identity store | d-1234567890 |
| SSO Instance ARN | The ARN of your AWS IAM Identity Center instance | arn:aws:sso:::instance/ssoins-123456789abc |
| Group Name Pattern | Pattern for group names managed by meshStack. Supports string templating with #{workspaceIdentifier}, #{projectIdentifier}, and #{platformGroupAlias} | #{workspaceIdentifier}.#{projectIdentifier}.#{platformGroupAlias} |
| SSO Sign In URL | The AWS IAM Identity Center sign-in URL for users to access the AWS Management Console | https://your-instance.awsapps.com/start |
| Role Mappings | Maps meshStack project roles to AWS IAM Identity Center permission sets | — |
Create AWS IAM Identity Center Permission Sets
Create permission sets in AWS IAM Identity Center for each meshStack project role you want to support. The ARNs of these permission sets are used in the Role Mappings configuration.
By default, three project roles are available in meshStack: Project Admin, Project User, and Project Reader. A good starting point is to map these to the following AWS job function policies:
- AdministratorAccess → Project Admin
- PowerUserAccess → Project User
- ViewOnlyAccess → Project Reader
meshStack looks up users by their euid (username) in the identity store and adds them to the groups it manages.
AWS SSO (SCIM) — Legacy
This section was written for the original AWS SSO SCIM integration. AWS SSO has since been renamed to AWS IAM Identity Center. The setup steps are still valid, but we recommend using the Identity Store API approach for new platform integrations.
Enable AWS SSO
Switch to AWS Console and search for sso, now choose AWS Single Sign-on

Now choose Enable AWS SSO
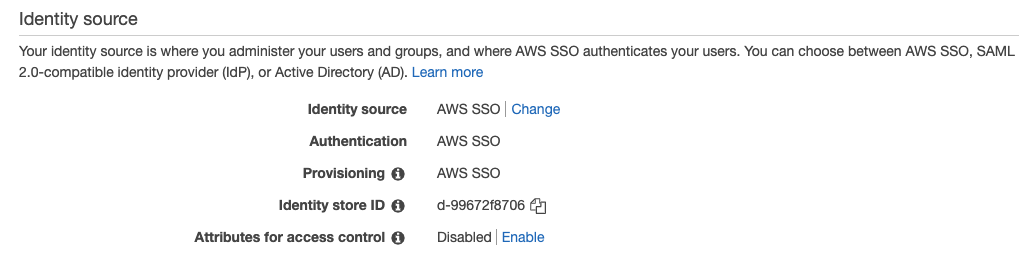
Configure an External IdP
Configure the identity source by clicking on Choose your identity source

Now choose change on Identity source
Select External identity provider
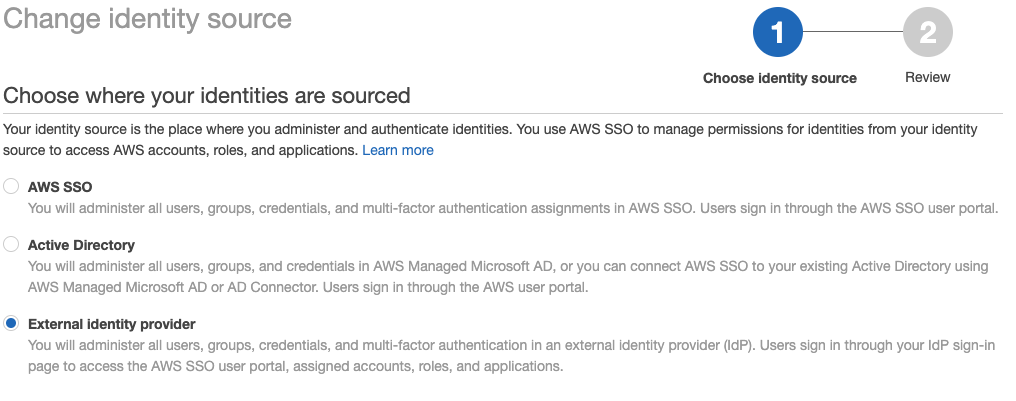
Download AWS SSO SAML metadata to later use this metadata for configuration in your source IdP (e.g. Microsoft Entra ID). Leave this tab open, as you also need to add the IdP SAML metadata later on. But at first we have to get this metadata from the IdP.
Configure AAD as IdP for AWS SSO
This section describes how to set up AWS SSO with Azure Active Directory. Make sure that you have the "Application Administrator" role in Azure assigned to you. Even if you are "Global Administrator", you require additionally this role.
Create an Enterprise Registration in Microsoft Entra ID
Go to Enterprise applications on Azure, click on New application and search for aws and choose AWS Single Sign-on
Follow the steps in Microsoft Entra ID under Getting Started. Mandatory are only the first 3 steps. Conditional Access and Self service are optional.
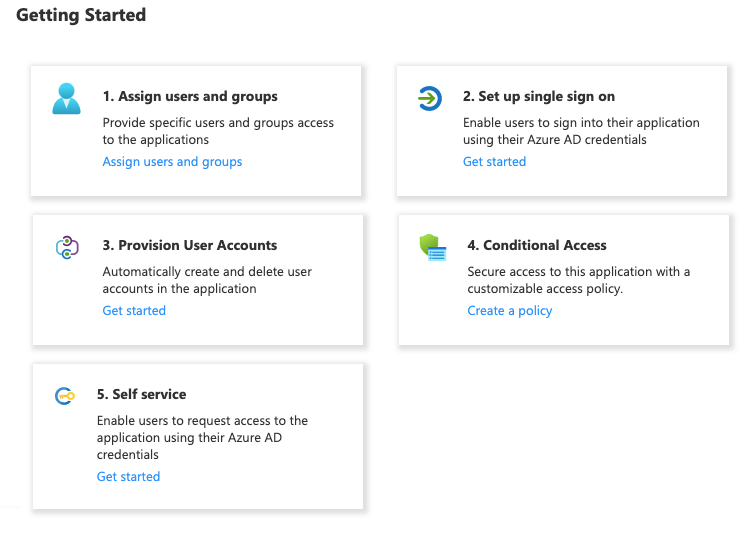
1. Assign users and groups
You have to assign users who shall have access to the enterprise application. Ideally you can build some automation to add the required users to the enterprise application.
2. Set Up SSO via SAML
Pick SAML as the SSO method. Use the AWS SSO SAML metadata you downloaded before from AWS. Upload it into Single Sign-On page on Azure with the Upload metadata file button.
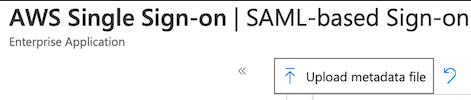
Click Save in the "Basic SAML Configuration" dialog. You may need to reload the page now, as Azure may still show "Required" for the Reply URL, but that is just a display issue in Azure.
Next you have to download the SAML Federation Metadata XML.
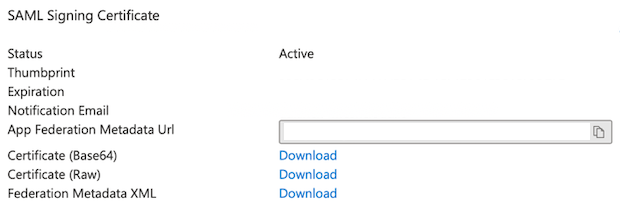
After downloading the Federation Metadata XML file from Azure you must upload it into your AWS SSO Identity Source as IdP SAML metadata. This configuration can also be set manually to do that use the Azure Login URL as the AWS IdP sign-in URL and Microsoft Entra ID Identifier as the IdP Issuer URL.
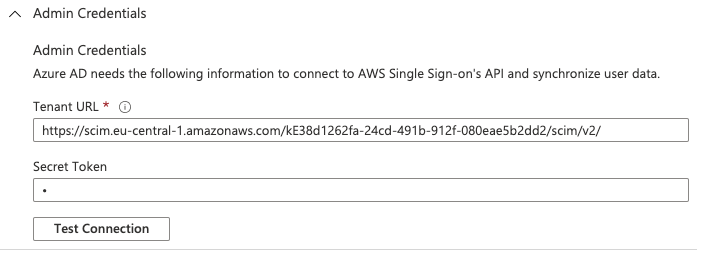
3. Provisioning
Automatic provisioning can be set via SCIM. Select enable automatic provisioning on AWS SSO service to get the Tenant URL and Access Token to configure SCIM on Azure AD Enterprise Application from AWS Single Sign-on | Provisioning tab. These secrets must be also shared with meshcloud Operator to configure the replicator service.
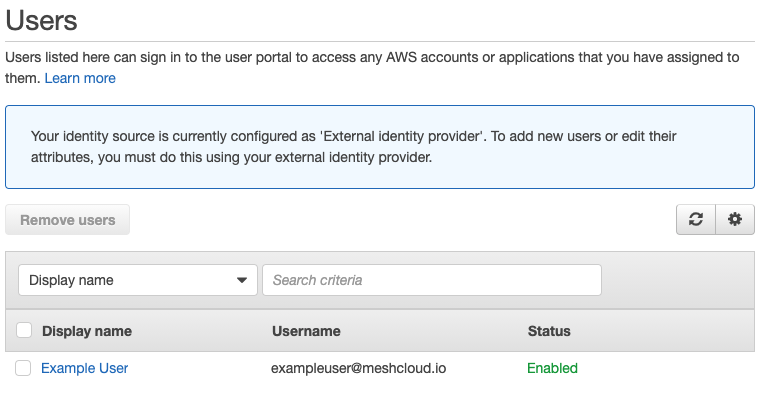
An important precondition regarding the automated user provisioning to AWS SSO is, that the userName in AWS SSO will be set to the euid. This limitation is caused by AWS SSO only allowing to filter on userNames to find users. Azure AD attributes can be mapped to AWS SSO service with
Mappingsconfiguration.
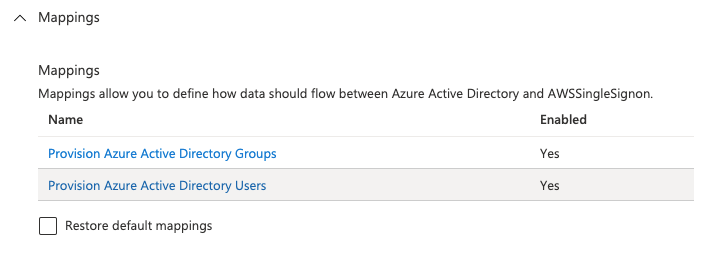
Disable the Group sync in Azure by clicking on the "Provision Azure Active Directy Groups" mapping and disable it in the details screen. Usually only groups managed by meshStack will be used and also they will be created by meshStack.
When Provision Azure Active Directory Users button is clicked, the following page shows userPrincipalName to userName mapping cannot be deleted because it is mandatory attribute and it has to be synchronized however any Azure Active Directory Attribute can be mapped to userName.

In the
Settingssection of theProvisioningyou could define the scope of users. You could switch to using not only users assigned to the Enterprise Application, but all users of the directory. The problem with this provisioning approach is that SSO login via SAML won't be possible, because only users assigned to the enterprise application are allowed to log in via SAML.
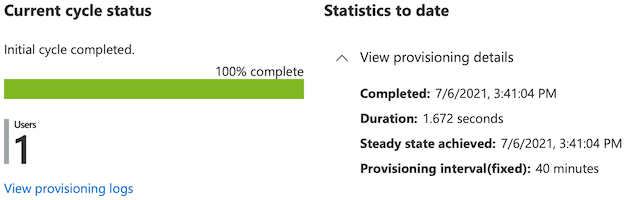
Once you configure "Provisioning", you should click Start provisioning and it will replicate your Users and Groups into AWS SSO. After this point this service will replicate the users every 40 minutes however you can always use Provision on demand or Restart provisioning buttons to run that replication.
Create AWS SSO Permission Sets
In order to assign groups created by meshStack to a certain Permission Set on an AWS account, you have to create according Permission Sets in AWS SSO.
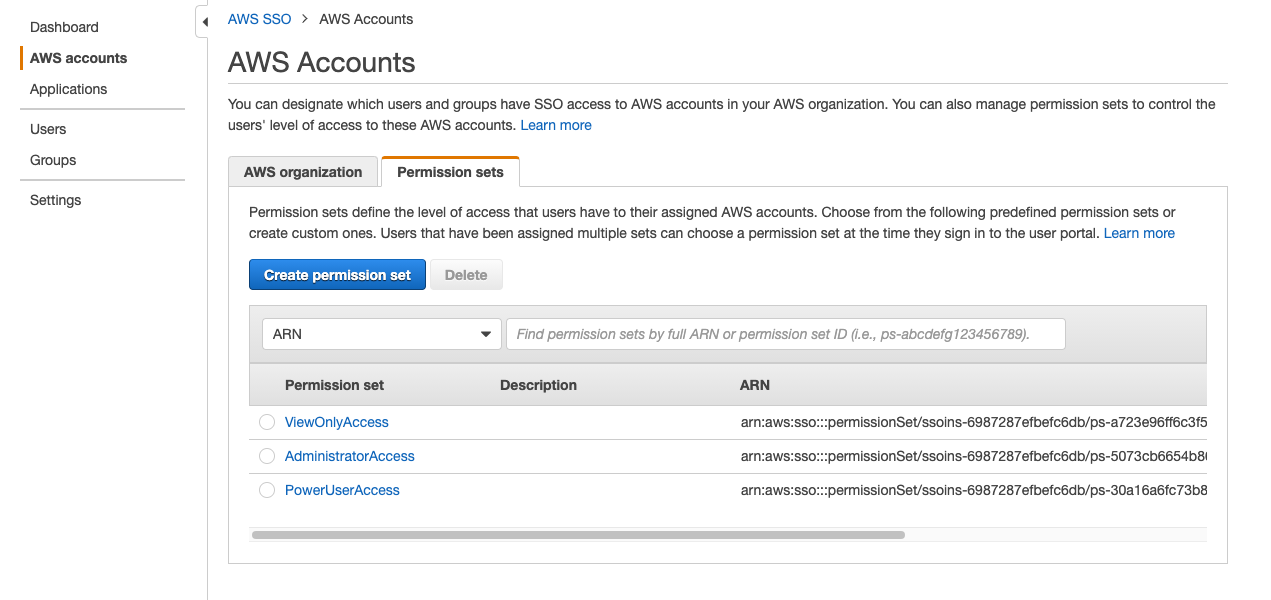
By default three project roles are available in meshStack: Project Admin, Project User, Project Reader. If you don't have specific PermissionSets in mind yet, a good starting point is to provide the following defaults for the three roles. When creating a new Permission Set you can select "Use an existing job function policy" and then select the following job function policies:
- AdministratorAccess
- PowerUserAccess
- ViewOnlyAccess
These permission set ARNs will be used by replicator as default policies. Customers can modify their policies later without affecting ARN to decide which policies they want to assign their users.