Workspace
Workspaces can be used by:
- Application teams to manage one or more business applications and their teams via the workspace manager.
- Platform teams to provide platforms and building blocks for application teams via the platform builder, and to test and operate their services via the workspace manager.
Workspaces can be accessed via the top navigation bar. You only have access to workspaces you're a member of, and you can switch between them easily using the drop-down menu.
Workspace creation can be configured in two ways:
- Self-service: Users can create workspaces directly through meshPanel in self-service mode.
- API-based: If you use an ITSM solution such as ServiceNow, you can initiate workspace creation through an API, enabling integration with existing approval workflows. This approach allows the creation process to be externalized and automated according to your organization's requirements.
Each workspace includes a Workspace Manager and Platform Builder.
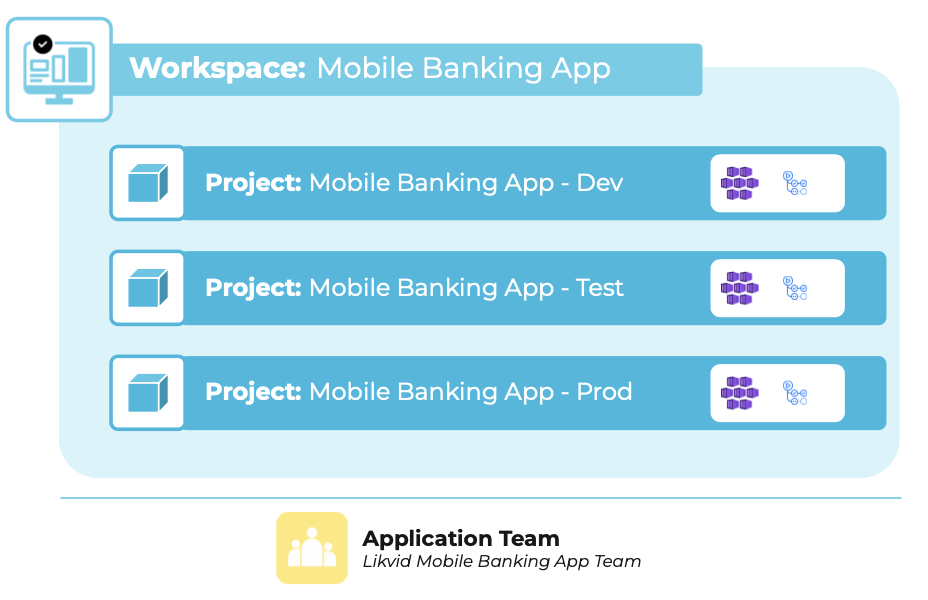
Below is a visual example of how workspaces are structured in meshStack:
Workspace Identifiers
Each workspace has a unique identifier that is used to reference the workspace in APIs, integrations, and platform resources.
Default Restrictions:
- Must be alphanumeric with hyphens allowed (but not leading, trailing, or consecutive hyphens)
- Maximum length of 16 characters
- Cannot be changed after workspace creation
These default restrictions can be configured differently upon request to accommodate your organization's needs.
The restrictions exist to ensure the combined ${workspaceIdentifier}.${projectIdentifier} fits within cloud platform constraints (e.g. AWS account names: 50 chars, Kubernetes namespaces: 63 chars).